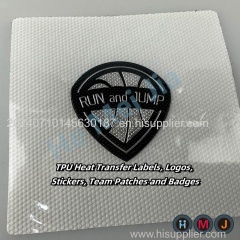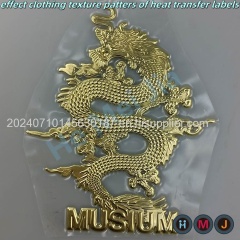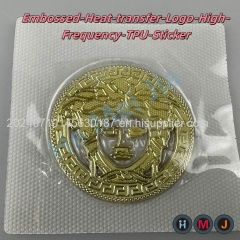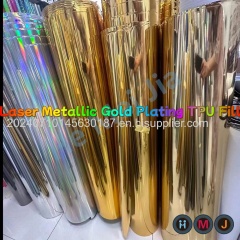


3D effect high raised TPU heat transfer label#patch#tag#brand#sticker#badges#crest#logo#brand#trademark
| Payment Terms: | Paypal, L/C, D/P, D/A, T/T |
|---|---|
| Place of Origin: | Guangdong |
Company Profile
| Location: | Guangzhou, Guangdong, China (Mainland) |
|---|---|
| Business Type: | Manufacturer, Service |
Product Detail
| Means of Transport: | Ocean, Air |
|---|---|
| Pattern: | Embossed |
| Type: | Self Adhesive |
| Material: | Rubber |
| Brand Name: | HMJ |
| tag: | brand |
| label: | badges |
| sticker: | patches |
Product Description
Materials Needed
TPU Sheets: Thermoplastic polyurethane sheets that can be molded and shaped under heat.
Molds: Custom molds designed to create the 3D effect and raised details.
Laser Cutter or Engraver: For precise cutting and detailing.
Heat Press: For transferring the label onto the desired surface.
Adhesive Layer: To help bond the TPU to the fabric or material.
Protective Film: To protect the design during the heat transfer process.
Software: Use graphic design software to create a detailed design of your label. The design should consider the 3D effect, with varying heights and depths.
3D Modeling: If available, use 3D modeling software to visualize the raised effect and adjust the design accordingly.
Custom Molds: Depending on the complexity of your design, you may need custom molds. These can be created using CNC machining or 3D printing.
Mold Material: Ensure the mold material can withstand high temperatures and repeated use.
Laser Cutting: Use a laser cutter to cut the TPU sheet into the desired shape and size based on your design. Ensure precision to maintain the integrity of the design.
Engraving Details: If needed, use the laser engraver to add fine details to the TPU that will be highlighted in the 3D effect.
Heating the Mold: Preheat the mold to the necessary temperature for shaping the TPU.
Pressing: Place the TPU sheet into the mold and apply heat and pressure. The TPU will take on the shape of the mold, creating the raised, 3D effect.
Cooling: Allow the TPU to cool in the mold to set the shape.
Adhesive Layer: Apply a heat-activated adhesive layer to the back of the molded TPU label.
Protective Film: Place a protective film over the front of the label to protect the design during the heat transfer process.
Preheating: Preheat your heat press according to the TPU and adhesive manufacturer's instructions.
Positioning: Place the item to be labeled on the heat press, position the TPU label on it, and cover with a protective sheet if necessary.
Pressing: Apply the heat press with the appropriate temperature, pressure, and time settings. This usually involves temperatures around 300-350°F (150-177°C) and pressing for 10-15 seconds.
Cooling and Peeling: Allow the label to cool slightly before carefully peeling off the protective film.
Test Runs: Perform test runs to ensure the mold, heat, and pressure settings yield the desired 3D effect.
Clean Surfaces: Ensure both the TPU and the surface to be labeled are clean and free of debris for optimal adhesion.
Safety Precautions: Follow all safety guidelines for using molds, laser cutters, and heat presses.
Fashion and Apparel: Adds a premium, high-end look to clothing and accessories.
Sporting Goods: Durable and resistant to wear and tear, suitable for sports gear.
Branding and Promotional Items: Eye-catching and tactile, ideal for branding purposes.

