
Casebound children board book printing
| Min. Order: | 500 Piece/Pieces |
|---|---|
| Trade Term: | FOB |
| Payment Terms: | L/C, D/P, T/T, WU |
| Supply Ability: | 300,000pcs/month |
| Place of Origin: | Zhejiang |
Company Profile
| Location: | Hangzhou, Zhejiang, China (Mainland) |
|---|---|
| Business Type: | Manufacturer, Trading Company |
| Main Products: | Hardcover Book, Brochure, Catalog, Softcover Book, Magazine |
Product Detail
| Means of Transport: | Ocean |
|---|---|
| Content: | Catalogue |
| Style: | Others |
| Intended Audience: | Adults |
| Brand Name: | Xiandai |
| Size: | 140X210mm |
| Cover: | Gloss paper+greyboard |
| Greyboard: | 1.5mm |
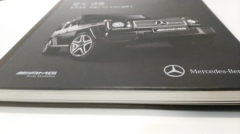
| Finishing: | Silver stamping |
| Cover paper: | Gloss paper |
| Color: | full color |
| Printing process: | offset printing |
| Paper thickness: | 100pt |
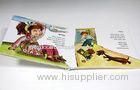
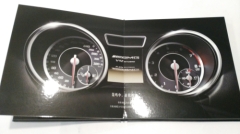
| Purpose: | automobile advertising |
| Binding: | Casebound |
| Production Capacity: | 300,000pcs/month |
| Packing: | packed in plastic bag and carton |
| Delivery Date: | 7-10 days after order confirmation |
Product Description
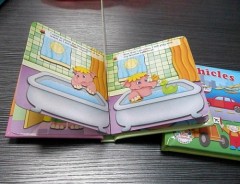
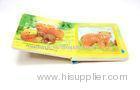
Childen board book is a type of book printed on thick cardboard for children. Each sheet is a minimum of two plies of paperboards. Unlike a common paperback or stitched hardcover book, the pages for each sheet of board book are usually folded and bound together. Board books are very durable and consequently intended for children or babies, who often tend to be less gentle with books.
Materials
1/16"-thick pressed cardboard (Elmers or Bienfang illustration board) - 1 per leaf
Full-sheet adhesive labels (Avery or similar) - 1 per leaf
Card stock - 2 small strips
Description | 1.5mm thick children hardbound board book |
Material | Cardboard |
Size | A5 |
Cover | Paperboard |
Finish | Silver stamping |
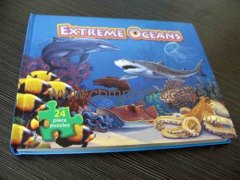
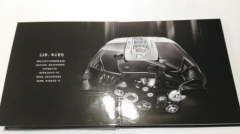
Cover of hardbound board book:

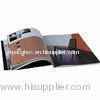
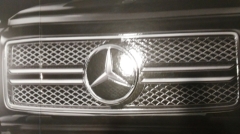
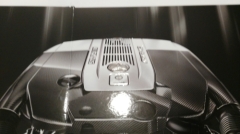
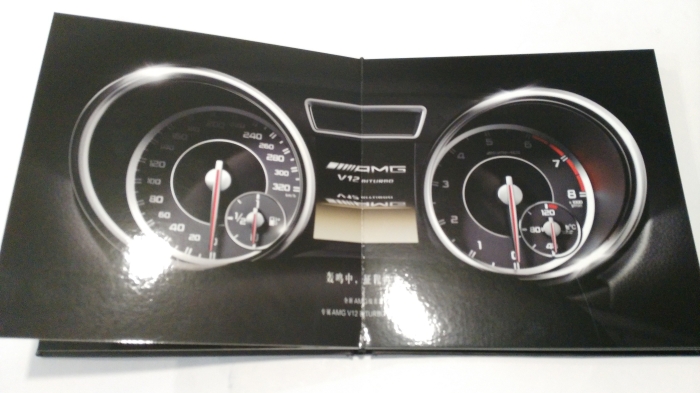
Inside pages of hardbound board book:
Silver stamping:

Color control procedures:
The color of our digital sample is 95% similar to that of printed sample on Heidelberg printer. They are put in our strict color management system. We can supply a whole set of digital printing sample for your reference. Of course, you can see its final binding effects after receiving this digital sample. It can be finished within three days.
We ensure the color consistency through our advanced Koda CTP system and strict color management procedures from pre-press to printing on the printer.
Quality control flowchart:
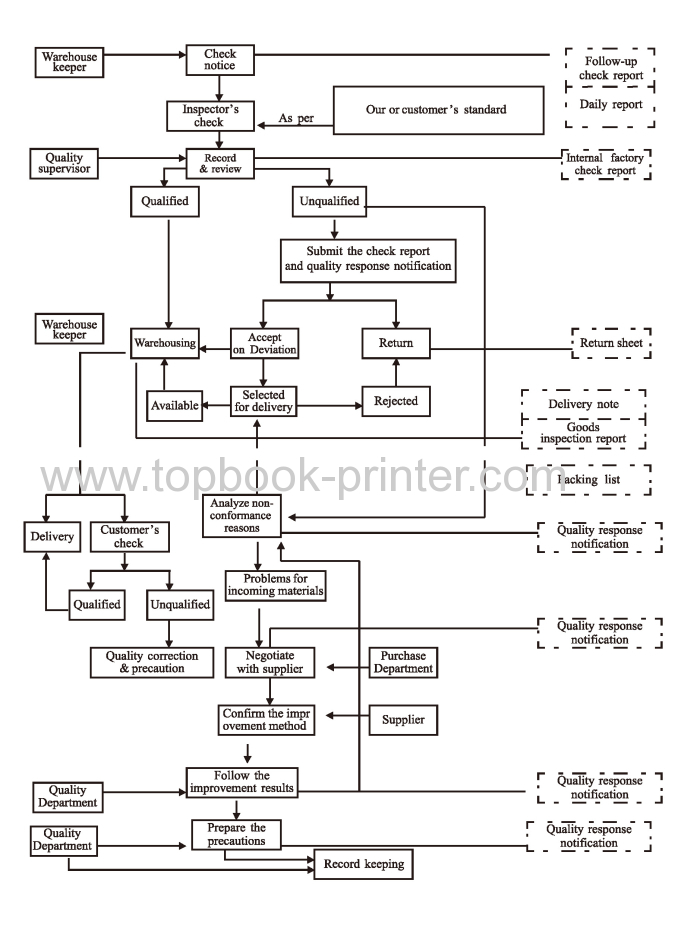
We have implemented strict 6S manufacturing system and ISO9001 quality assurance system. There are 12 QC inspectors and engineers, and all the products have to be inspected before leaving the factory (100% inspected).
Production:
Step 1: Cut boards
Cut desired-size boards from pressed cardboard. I used an illustration board but any pressed (not corrugated) cardboard will do. You'll need enough for the interior pages, plus the front and back cover. Round two of the corners.
Step 2: Print interior pages
Print the images on adhesive paper, one for each pair of facing pages. The first image will be the inside of the front cover and the first page; the next is the second and third page, etc. I used Avery full sheet labels for this. Keep any content away from the edge. Cut down each sheet to roughly the size of the image.
Step 3: Mount interior pages
Peel of the backing from the first
sheet and lay it face down. Place two boards on top, lining them up with the
center of the sheet.
Trim off the excess adhesive paper using a sharp
knife.
Continue mounting all interior pages, using the back of the
previous page for the front of the next.
Step 4: Print cover
Measure the thickness of the book so far. Determine the size of the image for the front cover, plus the thickness of the book, plus any border. The image should be, from left to right, the back cover, the spine and the front cover.
Print the image on adhesive paper. Crease the paper along the edges of
the spine.
If you can't print a single image large enough for the entire
cover, you can print it in two pieces, overlapping on the spine.
Step 5: Mount cover
Peel the backing off the cover sheet and lay it face down. Cut two strips of
heavy paper (card stock), each the width of the spine. Press them onto the
adhesive paper, one along the spine, one next to it on the back cover.
Set the book on the cover, lining up the spine. Wrap the front and back
cover around the book. Trim off any excess paper. When the book is opened, the
cover should pull away from the book along the spine and a narrow strip of the
back cover.