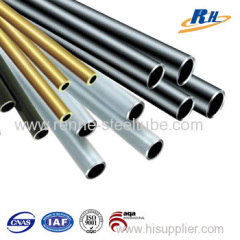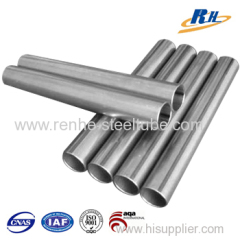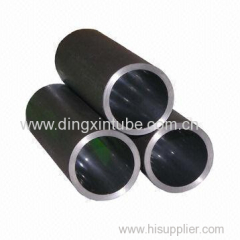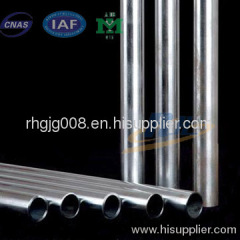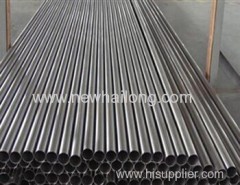
Seamless cold drawn Steel hydraulic tubes
1000.0~3000.0 USD
| Min. Order: | 500 Meter |
|---|---|
| Payment Terms: | L/C, D/P, D/A, T/T |
| Supply Ability: | 500Ton/ Month |
| Place of Origin: | Jiangsu |
Company Profile
| Location: | Suzhou, Jiangsu, China (Mainland) |
|---|---|
| Business Type: | Manufacturer |
| Main Products: | Hydraulic Fluid Line Tube, Phosphated Metric Steel Tube, BA Steel Tube, Zinc Coated Steel Tube, High Pressure Oil Tube |
Product Detail
| Means of Transport: | Ocean, Air, Land |
|---|---|
| EN: | DIN2391/C |
| DIN: | DIN2391 part 2 |
| Steel Gr.: | St37, St45, St52 |
| Condition: | NBK, Normalizing |
| Surface treatment: | Black Phosphated, oiled |
| Ends: | capped |
| Name: | Seamless cold drawn Steel hydraulic tubes |
| Packing: | wooden case |
| Using: | hydraulic line service |
| Production Capacity: | 500Ton/ Month |
| Packing: | Wooden case or as per requirement |
| Delivery Date: | 15working days |
Product Description
Seamless cold drawn Steel hydraulic tubes
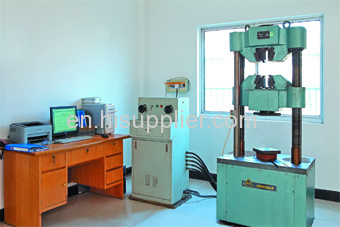
Inspection:
Eddy Current Testing
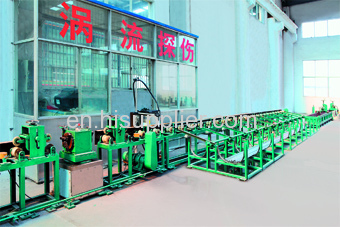
Chemical composition inspection
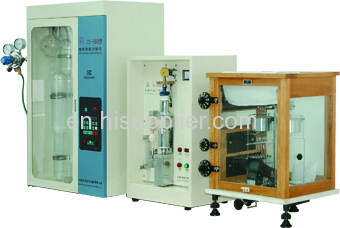
Mechanical Properties Inspection

Titles of standards
ASTM A519 Seamless carbon and alloy steel mechanical tubing
DIN 2391 1 Seamless precision steel tubes with special dimen-
sional accuracy. Dimensions
DIN 2391 2 Seamless precision steel tubes with special dimen-
sional accuracy. TDR
BS 6323 1, 4 Seamless and welded steel tubes for automobile,
mechanical and general engineering purposes
Part 1. General requirements
Part 4. Specific requirements for cold finished seam-
less steel tubes
EN 10305-1 Steel tubes for precision applications. TDR
Part 1. Seamless cold drawn tubes
GOST 8734 Seamless steel tubes cold deformed. Range
JIS G 3445 Carbon steel tubes for machine structural purposes
Dimensions
Tubes shall be ordered:
1. by outside diameter and inside diameter
2. by outside diameter and wall thickness
Tolerances
1. Values according to standards
out of roundness is included in the tolerances of diameter
tolerances of the wall thickness is ±10%
eccentricity is included in the tolerances of wall thickness
2. Tolerances by agreement
3. Dimensions and tolerances according to standard ASTM A450
Kinds of lengths (current deliveries):
production 3-8 m
fixed ±500 mm
precise tolerances 0 + x mm (x = by agreement)
max. length = 12 m
conversion: 1 m = 3,2808 ft
1 ft = 0,3048 m
Straightness
1/1000mm
Steel grades
Steel is produced in electric arc furnace and is fully killed. Steel grades are shown in the survey table of standards and in the table of chemical composition and mechanical properties (values are informativeonly).
Delivery conditions and heat treatment
BK (+C) Cold finished/hard (cold finished as drawn). No heat treatment after the last cold forming process
BKW (+LC) Cold finished/soft (lightly cold worked). After the last heat treatment there is a light finishing pass (cold drawing).
BKS (+SR) Cold finished/stress relieve annealed. After the final cold forming process the tubes are stress relieve annealed.
GBK (+A) Annealed. After the final cold forming process the tubes are annealed in a controlled atmosphere.
NBK (+N) Normalized. After the final cold forming process the tubes are annealed above the upper transformation point in a controlled atmosphere.
Surface condition
Tube surface corresponds to the standards and depends on the method of tube manufacturing and method of heat treatment.
Value of roughness Ra < 4 µm.
Tube ends
The tubes are delivered with plain ends without burrs at the ends of the tube. The tube with wall thickness over 3(5) mm could be delivered with bevelled ends according to corresponding standards.
Upon request ends could be plugged with plastic caps.
Testing
Testing is performed in accordance with corresponding standards.
Selection of test according to standards or by agreement (non specific or specific inspection).
Non specific inspection
Mandatory test
cast analysis
tensile test
visual examination
dimensional testing
Specific inspection Inspection certificate 3.1.B
Optional tests
flattening test or drift expanding test
roughness measurement
NDT for detection of transverse imperfections 1)
NDT for detection of wall imperfections 2)
1. Selection of tests
eddy current test according to standards ÈSN 01 5054, PRP 02-74, ASTM E 309, EN 10246-3 Class E3 for D > 6 mm, t > 0,5 mm
flux leakage test according to standards ÈSN 01 5047, ISO 9402 (SEP 1913), ASTM E 570, EN 10246-5 Class F3 for D > 32 mm, t > 2 mm
ultrasonic test according to standards ÈSN 01 5028, SEP 1915, ASTM E 213, EN 10246-7 Class U3 for D > 10 mm, t > 2 mm
2. EN 10246-1 eddy current, electromagnetic test
Marking
Bundles are markerd with one or more metal or other durable tags
with required information.
Protective coating
Tubes are supplied either uncoated or with the manufacturers standard mill coating at the option of the customer (subject of agreement between customer and manufacturer).
Packaging
Tubes are packed in round or hexagonal bundles with weight max.2000 kg. Other possibilities by agreement.
Types of inspection documents according to EN 10204 (survey)
Non specific inspection
2.1 Certificate of compliance with the order (certificate from manufacturer)
2.2 Test report (certificate from manufacturer)
Specific inspection
2.3 Specific test report (certificate from manufacturer)
3.1.B Inspection certificate (inspector representing the manufacturer)
Seamless cold drawn Steel hydraulic tubes
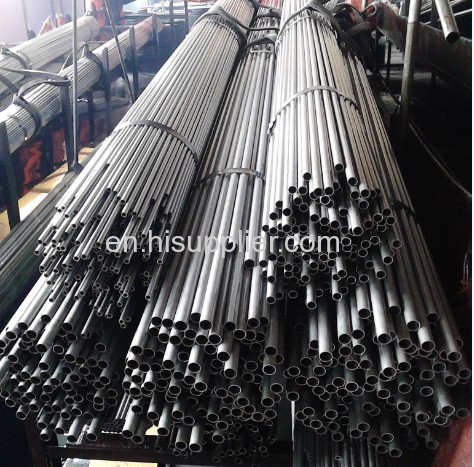
Seamless cold drawn Steel hydraulic tubes

Inspection:
Eddy Current Testing

Chemical composition inspection

Mechanical Properties Inspection
