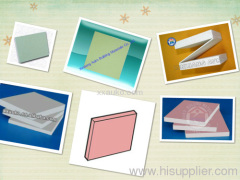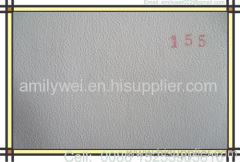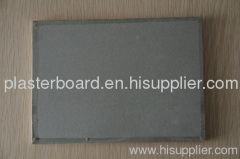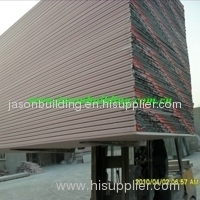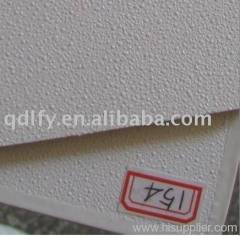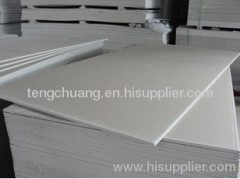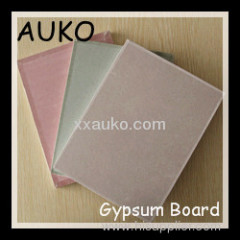
9mm gypsum board for ceiling
0.8~2.2 USD
| Min. Order: | 2000 Square Meter |
|---|---|
| Trade Term: | FOB |
| Payment Terms: | L/C, T/T |
| Supply Ability: | 60 million m2/year |
| Place of Origin: | Henan |
Company Profile
| Location: | Xinxiang, Henan, China (Mainland) |
|---|---|
| Business Type: | Manufacturer, Trading Company |
| Main Products: | Gypsum Board |
Product Detail
| Means of Transport: | Ocean |
|---|---|
| Production Capacity: | 60 million m2/year |
| Packing: | According to customers' requirement |
| Delivery Date: | within 15 days |
Product Description
Specifications
1)Gypsum board Size1200*2400,1200*2440
2)Durable&Standard Quality
3)Lightweight,Easy to Install
4)Special Design
5)Economical
2)Durable&Standard Quality
3)Lightweight,Easy to Install
4)Special Design
5)Economical
Auko Building Material Co., Ltd. is a leading professional manufacturer of ceiling and gypsumboard partition system in China, which has won a very high reputation within our client network after more than 6
years of effort and development:
Our Main Products:
1. Gypsum board for ceiling and partition
2. Aluminum false ceiling.
3. T grid suspension system..
4. Mineral Fiber ceiling board.
1.Gypsum Board Specification
Convenient Construction | Auko plaster board can be constructed easily by nailing ,cuting and planing, it becomes the first choice among home decoration materials. |
advantages | Auko gypsum board is characterized for lightness and high intensity, dryness operation, green environmental protect, convenient construction and good processing quality. |
Size | 1200mm*2400mm |
1220mm*2440mm | |
Thickness | 7-13mm |
Surface treatment | Paper/PVC laminated/foil back |
Production capacity | 60,000,000sq.m./year |
2.Gypsum Board for ceiling & wall partition system
AUKO gypsum boardSystem is a modern, non-load bearing and quickly assembled on site. The system consists of
Gypsum Board screw fixed to lightweight galvanized metal sections and joint finished with drywall system is suitable for
all internal applications for commercial and residential.
Exquisite, Modern and Adjustable
Exquisite, Modern and Adjustable
AUKO gypsumboard system provides smooth, seamless and crack-free wall surface.
Durable and Standard Quality
Materials and accessories of AUKO gypsumboard system are manufactured by state of the art technology in accordance
with international standards.
Lightweight, Easy to Install and Economic
AUKO wall weight much less than masonry partitions of comparable thickness, thus providing real savings in structural
design. This enables quick and easy installation, and produces time and cost savings.
Specially Designed and Patented Materials of gypsumboard High quality galvanized AUKO frame metal sections of drywall system are manufactured by state of the art technology
called drywall STEEL, to reinforce the cross section of metal sections.
Applicable to Various Usages as Required
AUKO gypsumboard system can be designed to suit various types of office application.
AUKO gypsumboard system can be designed to suit various types of office application.
3.Gypsum Board Installation
Installing gypsumboard can be easy, but taping the joints between panels requires some practice. Some do-it-yourself install the drywall themselves, then call an experienced drywall taper to finish the job.
Step 1: Construct a pair of T-braces from 2 X 4s about an inch longer than the distance from floor to ceiling.
Step 2: Cut drywall panels to size. Use a sharp utility knife along a straightedge to cut drywall.
Step 3: Install drywall panels on the ceiling.
Step 4: Drive nails at 6-inch intervals into all the joists covered by the sheet.
Step 5: When the ceiling is finished, cut and install wall panels.
Step 6: Space the nails 6 inches apart along studs, but start nailing 4 inches from the ceiling. Butt the wall panels against
the ceiling sheets. Dimple all nails. Nail metal outside cornerbeads to cover any outside corners.
Taping GypsumBoard
The next step in installing drywall is covering the nails and joints, called taping.
Step 1: Use a 5-inchwide drywall taping knife to spread joint compound into the slight recess created by the tapered
edges ofthe drywall sheets. Smooth the compound until it is even with the rest of the board surface.
Step 2: Center the drywall tape over the joint and press it firmly into the compound. Because some compound will
squeeze out, make sure that there is still a good bed underneath.
Step 3: When the compound is completely dry (usually 24 hours later) apply a very thin second coat of compound that
ends out a few inches to either side of the first coat.


