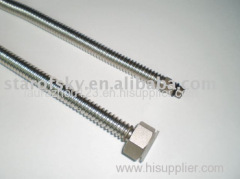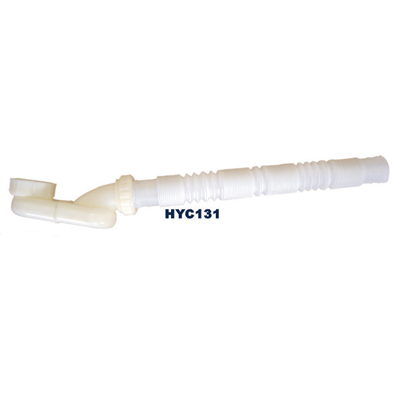
Adjustable Water Hose
| Payment Terms: | T/T |
|---|---|
| Place of Origin: | Zhejiang |
Company Profile
| Location: | Ningbo, Zhejiang, China (Mainland) |
|---|---|
| Business Type: | Manufacturer, Trading Company |
Product Detail
| Model No.: | hyc131 |
|---|---|
| Means of Transport: | FOB Ningbo China |
| Brand Name: | HY |
| Export Area: | all the world |
| Packing: | carton |
Product Description
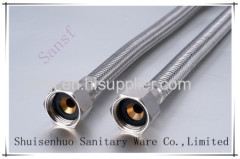
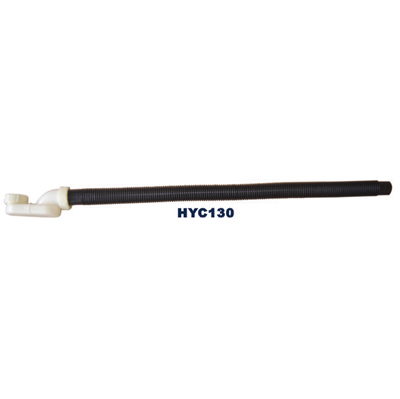
Adjustable water hose - hyc131
Chrome plated luxury metal waste
Reinforced overflow tube
Chrome or Gold plated luxury metal control
Assembly Instructions(1 1/2" Bath pop up waste)
Overflow PIPE we can make as the client’s requirement
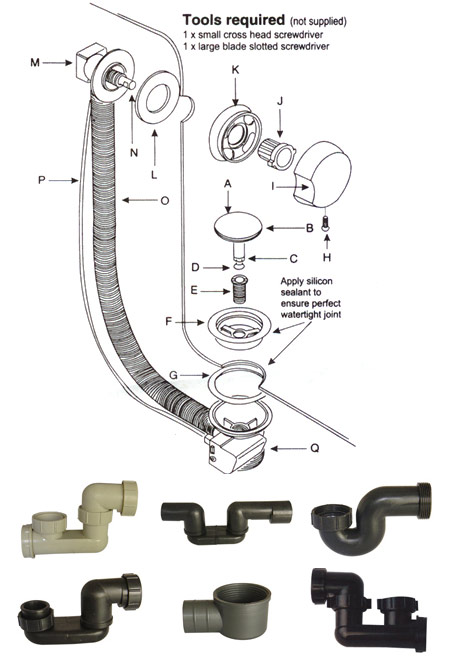
Parts Supplied(one of each of the following)
A. Plug
B. ’O’Ring for plug
C. Nut for adjusting screw
D. Adjusting screw for plug
E. Hollow centre screw
F. Waste Flange
G. Ribbed washer-Waste body
H. Grub screw for control knob
I. Control knob
J. Overflow wingnut
K. Overflow face
L. Flat washer-overflow
M. Overflow body
N. Brass spindle
O. Overflow PIPE
P. Operating cable
Q. Waste body
Assembly
1.Check and familiarise yourself with all of the components.
2.Offer up the main body of the pop up waste(items M, P and Q)to the bath,ensure washers(items G and L)are in place.
3.Secure the overflow body, position the overflow face(item K)into place and then fit the wingnut(item J). Before tightening this centralise the assembly into the centre of the bath overflow hole. Do not over-tighten or use excessive pressure on the wingnut.
4.Secure the waste outlet,apply silicon sealant to the underside of the waste flange(item F)and place into
position.Fit and tighten the hollow centre screw(item E). Take care not to damage the plated finish and do not over-tighten. Check that the operating cable(item P) is not bent or kinked and has some free movement.
5.Fit the overflow pipe (item O)onto the connections on the waste body(item Q)and overflow body (item M),It is advisable to apply a light covering of silicon sealant to these connections.
6.Take the control knob (item)and ensure the grub screw(item H)is fitted into this. Fit the control knob onto the brass spindle(item N) with the access hole in the control knob at the bottom. Tighten the grub screw, through the access hole and ensure that this locates onto the flat section of the brass spindle.
7.Assemble the pop up plug, fit the nut (item C)onto the adjusting screw(item D) and fit this to the stem of the plug(item A). Fit the’O’ring(item B) to the plug. Turn the control knob so that the operating lever is in the closed position. The operating lever is part of the waste body (item Q)and is located just below the grid section . To be in the closed position the lever should be in its lowered position. Set the adjusting screw in the plug so that it is almost touching the operating lever. Operate the control Knob to check that the plug ’pops up’ sufficiently to allow the water to be drained fromm the bath. Tighten the nut(item C).
8.Fill the bath with water and check all joints to ensure there are no leaks. This is best done in stages starting with a small amount of water before fully filling the bath.
9.Once fitting has been completed carefully clean all plated surfaces. The finished surfaces on this product are hard and durable and should be cleaned on a regular basis to maintain their appearance. They should only be cleaned wiht warm soapy water and then wiped with a dry cloth . Under no circumstances should any aggressive or abrasive cleaning agent be used, as this can lead to a deterioration of the high quality finish.
10.If you require any further information , assistance or spares, please quote reference BSBA1082/PUW195.


.jpg)
.jpg)
