

RG6 Coaxial Wire Stripper Crimper Tool Set Kit ConnectorsTool Rotary Stripper 20 Connectors
| Min. Order: | 100 Set/Sets |
|---|---|
| Supply Ability: | 1000PCS/day |
| Place of Origin: | Zhejiang |
Company Profile
| Location: | Ningbo, Zhejiang, China (Mainland) |
|---|---|
| Business Type: | Manufacturer |
Product Detail
| Model No.: | GL-6666 |
|---|---|
| Brand Name: | GlORY |
| Place of Origin: | China (Mainland) |
| MOQ: | 100 |
| OEM: | Yes |
| Delivery Detail: | 10-40 Days |
| Brand Name: | Glory |
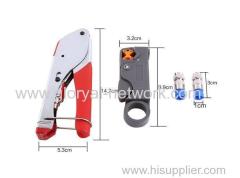
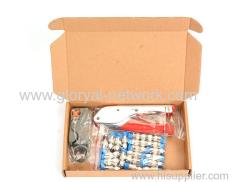
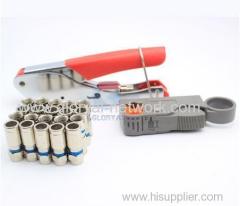
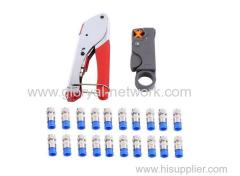
| Name: | RG6 Coaxial Wire Stripper Crimper Tool Set Kit, Connectors, Tool, Rotary Stripper (20 Connectors) |
| Function: | for Coaxial Cable Cut, Strip, Crimp |
| Production Capacity: | 1000PCS/day |
| Packing: | BROWN BOX |
| Delivery Date: | 7days |
Product Description
RG6 Coaxial Wire Stripper Crimper Tool Set Kit Connectors Tool Rotary Stripper (20 Connectors)
Rg6 Coaxial Wire Stripper Tool Rotary Stripper (20 Connectors) Crimper Tool Set Kit Connectors
Universal Compression/Crimping Tool for cable audio video field, work with RG59 RG6 coaxial cable, handle for the special soft material, non-slip, comfortable to use, feel strong, ergonomic design
Rotary Cable Stripper work with RG59 RG6, it can according to different diameter, adjust the depth of stripping, made of high impact material
15 Compression F connectors: premium quality connectors are designed to provide a professional, secure, waterproof connection for RG6 RG59 coaxial cable, Perfect for multiple coax applications such as antennas, CATV, Satellite, CCTV, Boadband Cabling, etc
1.The V-block is reversible. Use hex wrench to push the V-block out of the housing, align the character on the V-block with the arrow, then insert the V-block into its housing. 6=RG6(5C2V), 8=RG58(3C2V), 9=RG59/62, D=RG174.
2.Press the knurled portion on the upper jaw to open the stripper's jaws.
3.Insert the cable you want to strip through the V-block until the cable reaches the V-shaped cable guide. Then release the upper jaw to close the jaws.
4.Insert your index finger into the stripper's finger ring, turn the stripper clockwise 1 to 4 times. The cable's insulation is cut while you turn the stripper.
5.Open the jaws and remove the cable. Pull away the outer jacket and dieelectric to express the inner conductor.
6. Insert the stripped cable into the connector, make sure the cable is inserted to the end.
7. Place the connector with cable into the tools' holder.
8. Squeeze the handles.
9. Remove the crimped connector from the tool.

